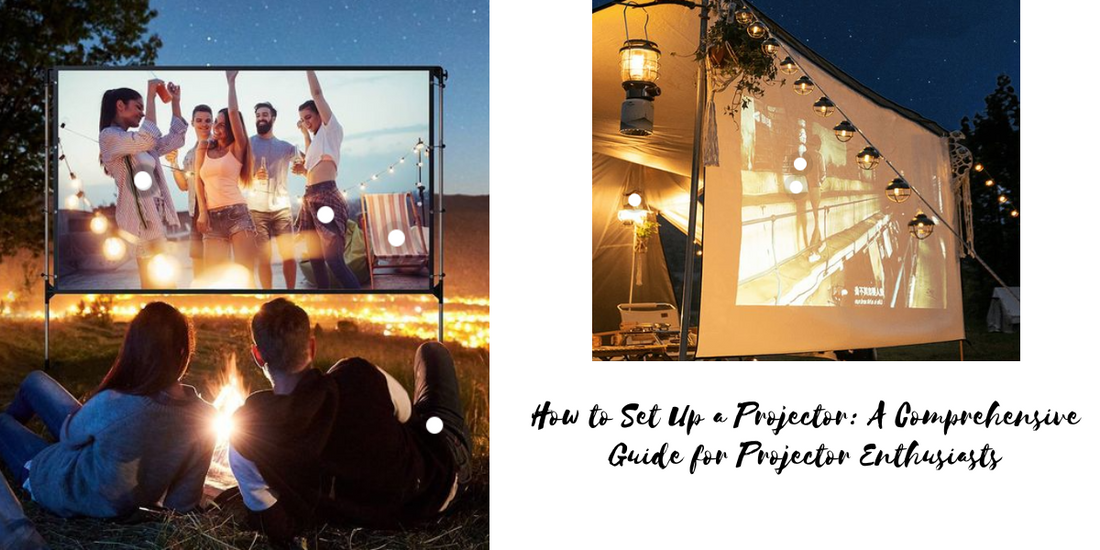
If you're looking to enjoy a larger-than-life viewing experience of your favorite movies, TV shows, or presentations, a projector is undoubtedly the way to go. But setting up a projector can be a daunting task, especially if you're new to the world of projectors. In this blog, we will walk you through the process of setting up a projector step-by-step, and provide practical tips to ensure you get the best possible viewing experience.
Step 1: Choosing the Right Location

Before you start setting up your projector, it's essential to choose the right location for it. The location you choose will have a significant impact on the quality of your viewing experience. Here are a few things to keep in mind:
-
Choose a room that can be darkened: Projectors work best in rooms that can be darkened to reduce ambient light. This will help ensure that the images on the screen are as bright and clear as possible.
-
Consider the size of the room: Make sure the room is large enough to accommodate the screen and projector at the right distance. If the room is too small, you won't be able to get a large enough image on the screen. On the other hand, if the room is too large, you may have trouble getting a bright and clear image.
-
Check the ceiling height: If you plan on mounting the projector on the ceiling, make sure the ceiling is high enough to accommodate it. You don't want to mount the projector too low and have people's heads get in the way of the image.
Step 2: Setting Up the Screen

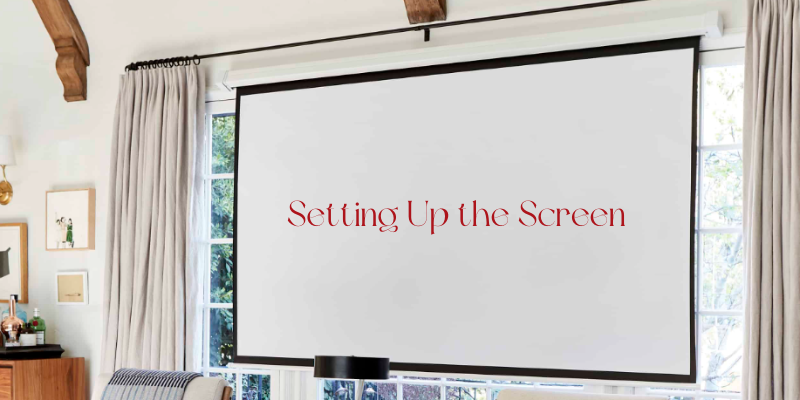
Once you've chosen the right location, it's time to set up the screen. There are a few different types of screens to choose from, including fixed-frame, motorized, and portable screens. Here are some tips to help you set up your screen:
-
Choose the right size: The size of your screen will depend on the size of your room and the distance between the projector and the screen. A good rule of thumb is to make the screen size about 1.5 times the distance between the projector and the screen.
-
Position the screen correctly: The screen should be positioned perpendicular to the projector, and there should be no obstructions between the projector and the screen.
Step 3: Connecting the Projector

Now that you've set up the screen, it's time to connect the projector. Here's how:
-
Connect the power cord: Plug the projector into an electrical outlet.
-
Connect the video source: Connect your video source, such as a laptop, DVD player, or gaming console, to the projector using an HDMI, VGA, or other compatible cable.
-
Adjust the focus: Use the focus ring on the projector lens to adjust the focus until the image on the screen is clear and sharp.
Step 4: Adjusting the Image

Now that you've connected the projector, it's time to adjust the image. Here are a few things to keep in mind:
-
Keystone correction: If the projector is not perfectly aligned with the screen, you may need to use the keystone correction feature to adjust the image and make it square.
-
Zoom: If the image is too large or too small, you can adjust the zoom to make it the right size.
-
Color and brightness: Use the projector's settings to adjust the color and brightness of the image until it looks just right.
Conclusion
Setting up a projector may seem like a daunting task, but it's actually quite simple if you follow the steps outlined in this guide. Remember to choose the right location for your projector, set up the screen correctly, connect the projector, and adjust the image to your liking. By following these steps and troubleshooting common problems, you can set up your projector and enjoy a big screen experience in your home or office.

